Start with a plan
Measure the area, look at where water flows and decide what grass suits your sun. Call before you dig to have utilities marked, and note irrigation heads and buried lines.
A little planning at the start prevents the two most common sod problems: wet spots and gaps.
Remove what is there
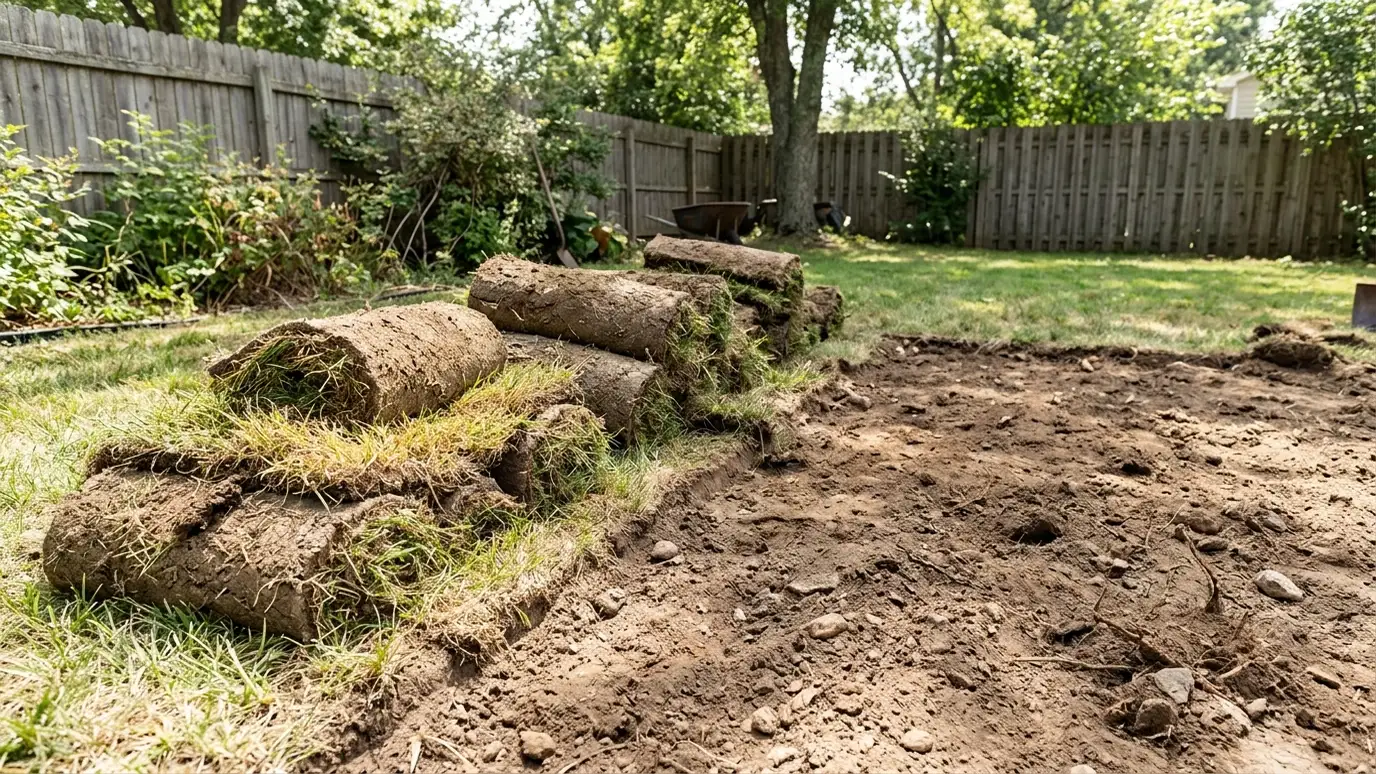
Old turf, weeds and debris go first. A sod cutter does this cleanly, or the area can be killed off with an approved treatment and removed. Rocks, roots, buried wood and construction scraps should be pulled out.
Do not leave a layer of dead grass under new sod. It blocks roots and can sour as it breaks down.
Set the grade
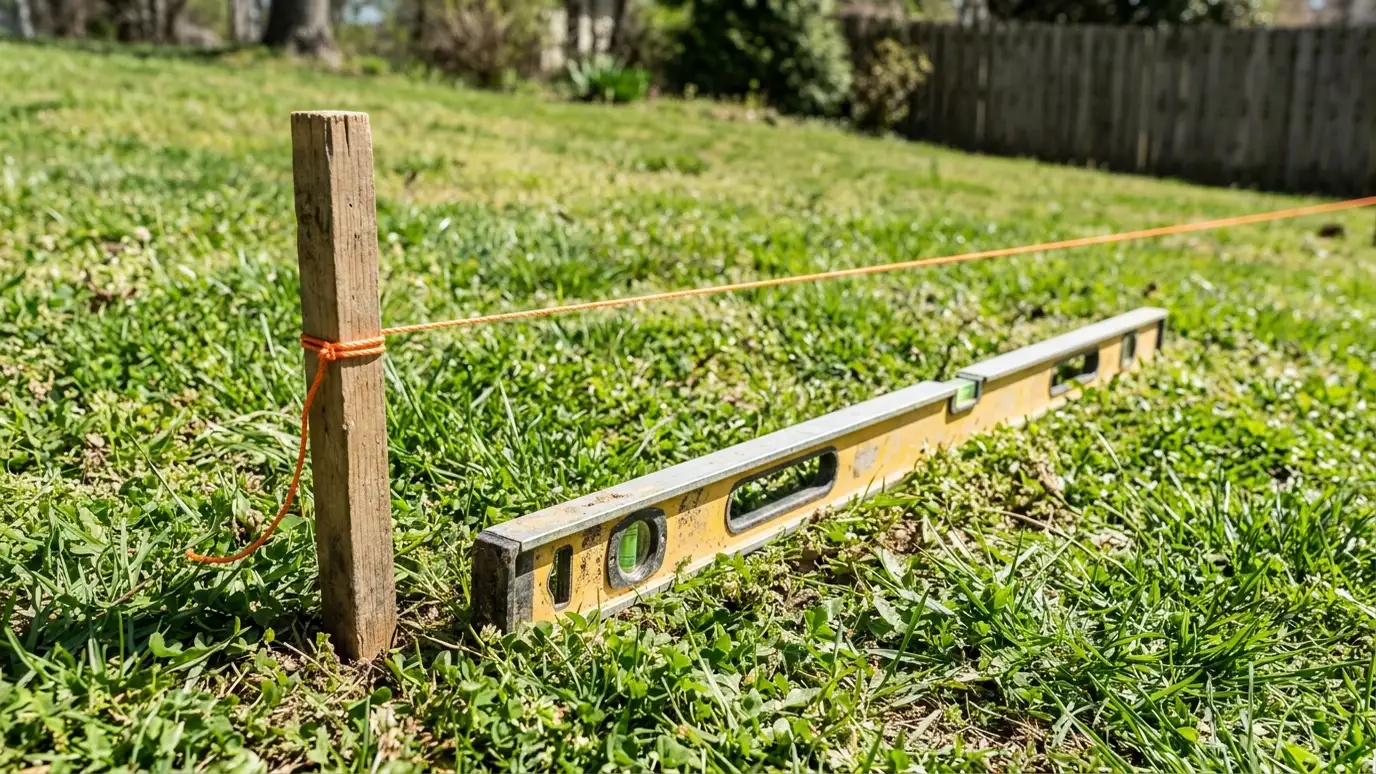
Water should flow away from the house, with about six inches of fall over ten feet where possible. Fill low spots, shave high spots and avoid sharp changes that trap water or scalp under the mower.
Leave the finished soil about an inch below walks and driveways so the sod sits flush.
Loosen and improve the soil
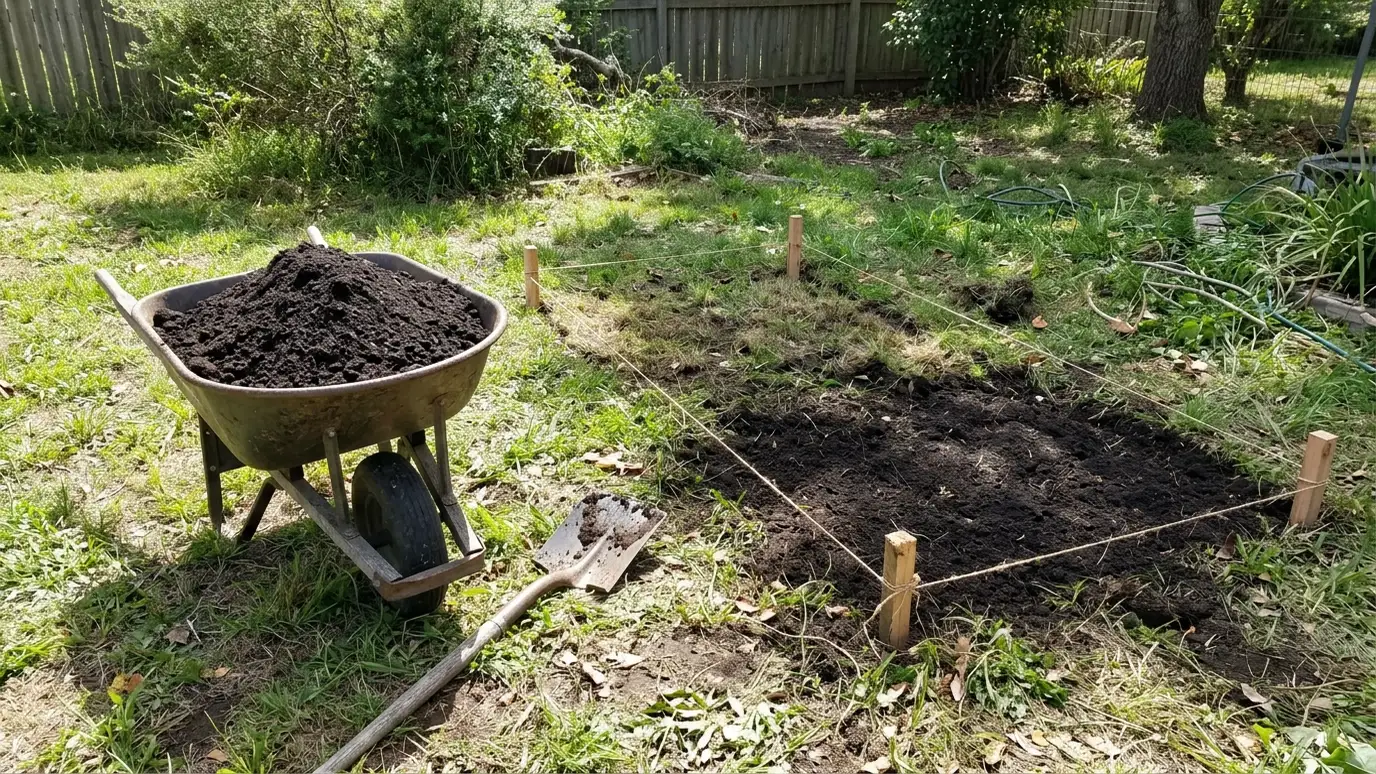
Compacted clay stops roots. Till or loosen the top four to six inches. Add compost or quality topsoil and blend it in rather than layering it on top, which creates a barrier between sod and soil.
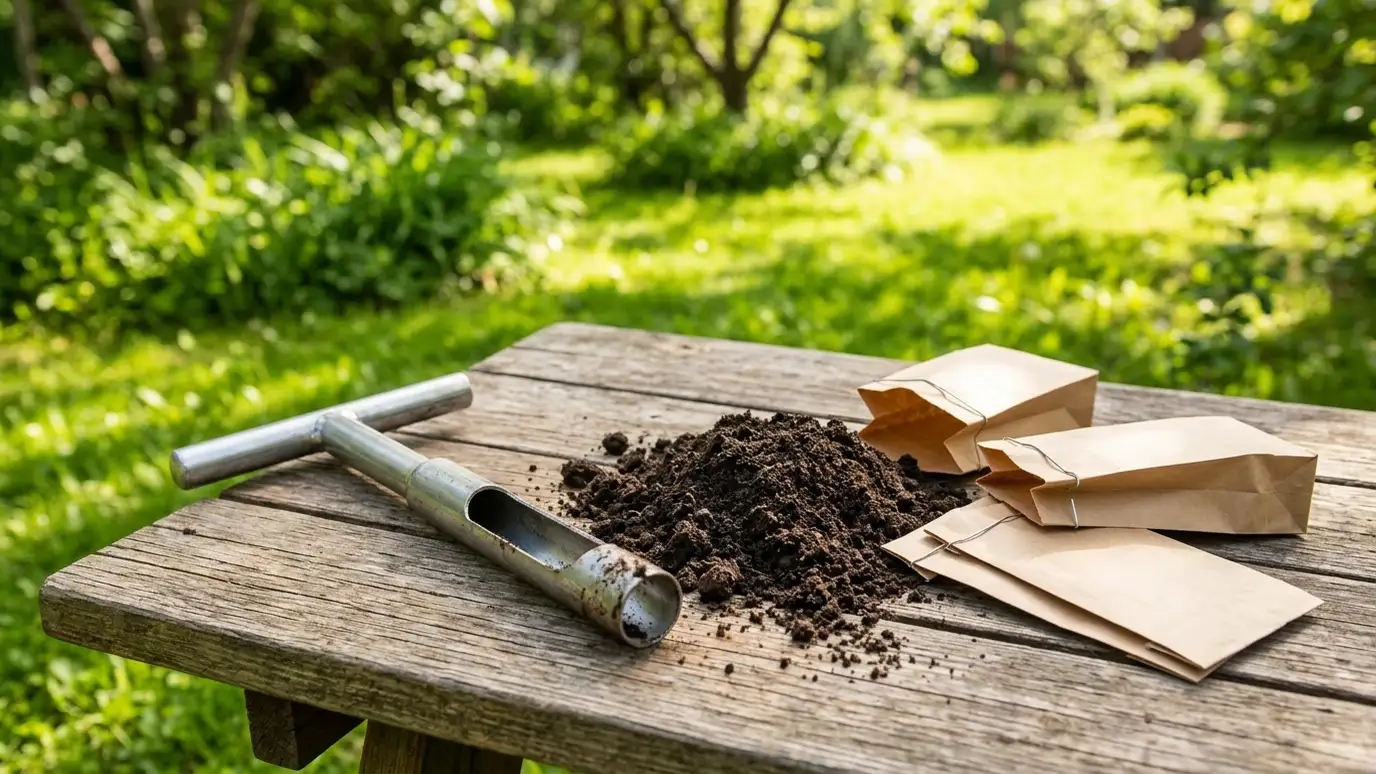
A soil test tells you whether lime or fertilizer is needed.
Smooth and firm
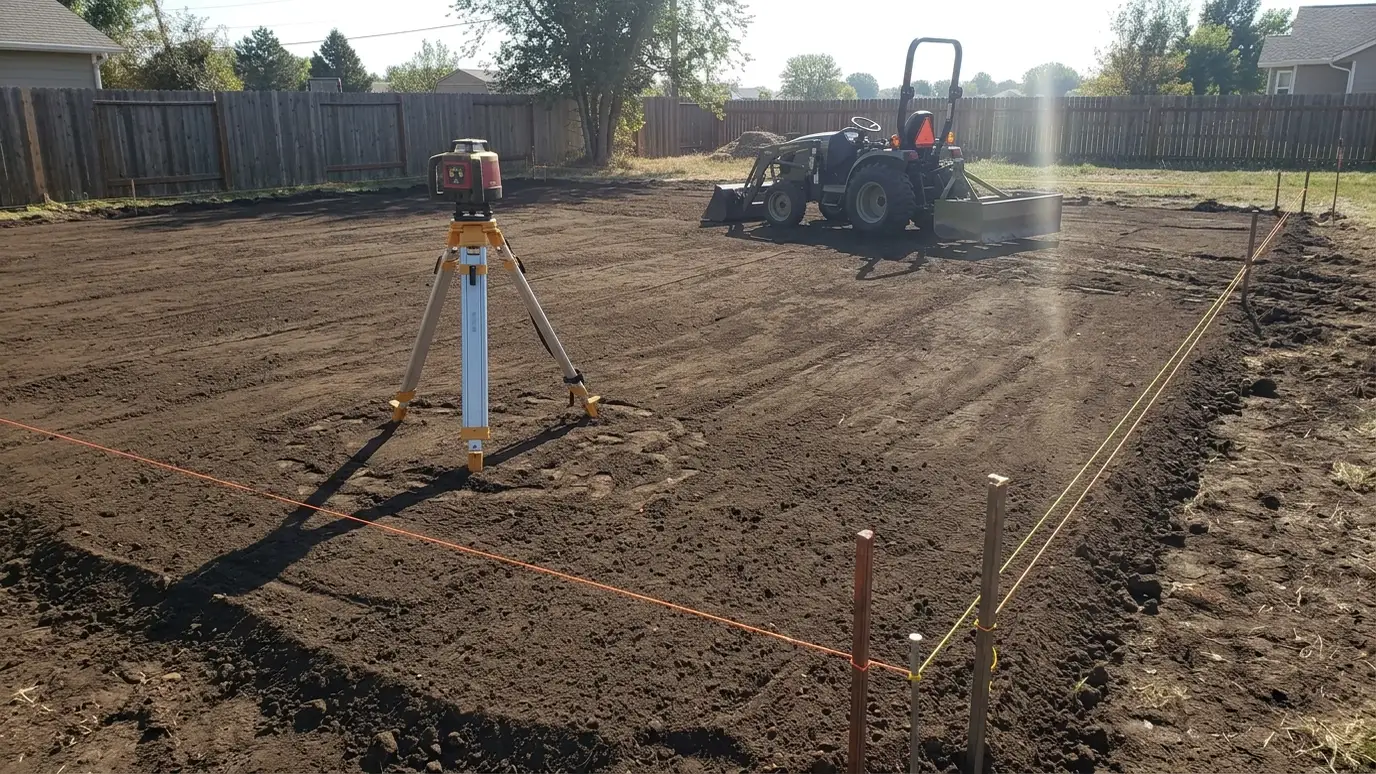
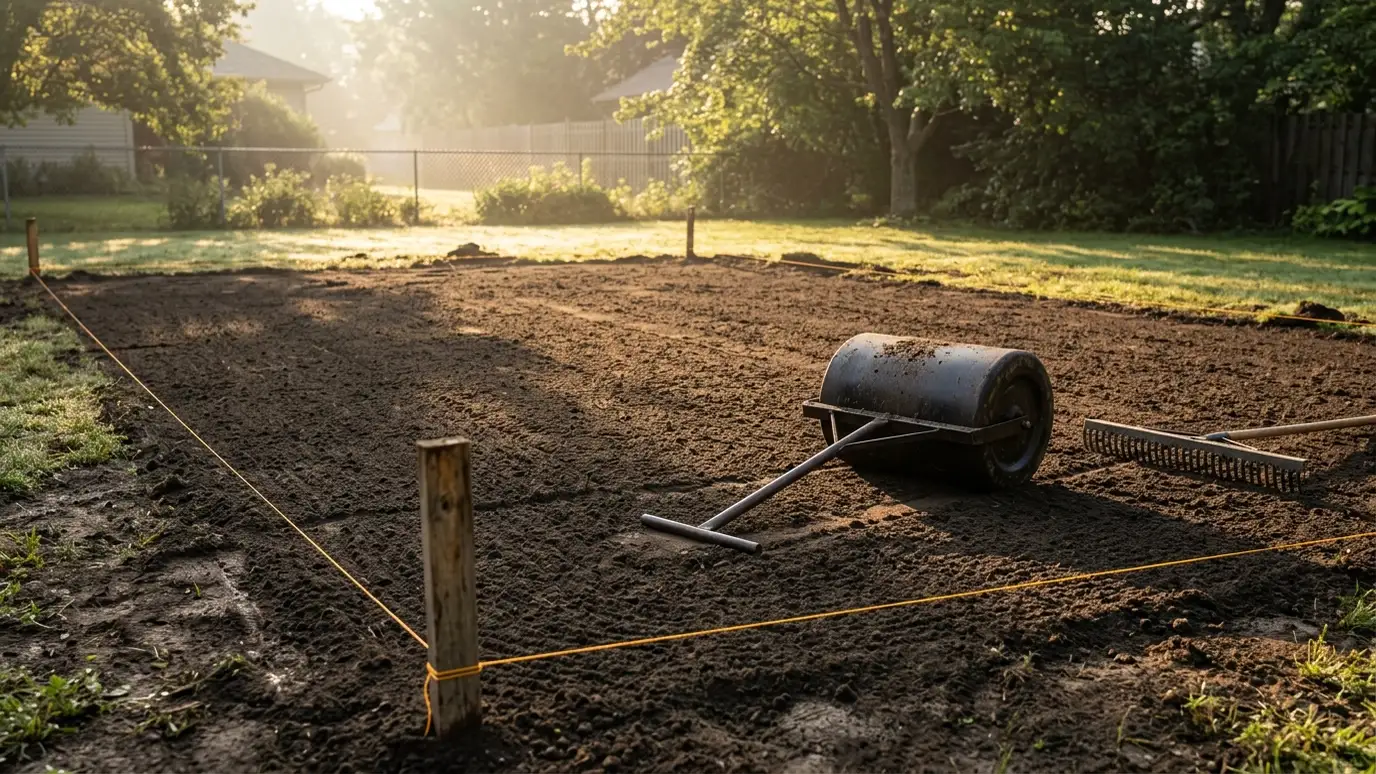
Rake the soil smooth, remove stones and roll lightly so it is firm but not hard. The surface should be smooth, with no depressions that hold water or humps that scalp.
Water the soil lightly before laying so the sod meets damp, not dry or muddy, ground.
Lay it right away
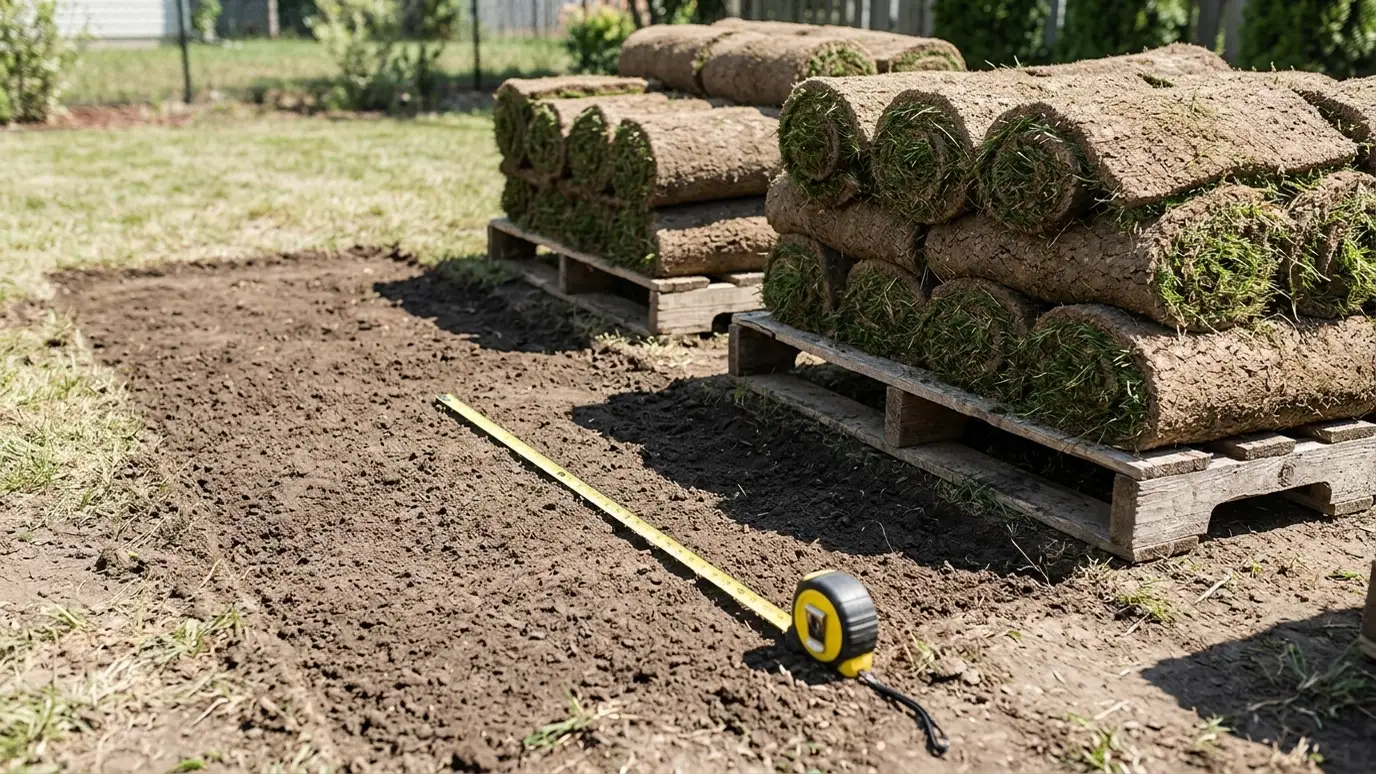
Plan delivery for the day you can install. Start along a straight edge, stagger the seams like bricks, keep edges tight and roll after laying. Water thoroughly the same day.
Follow the watering schedule for the first two weeks without skipping days.
Spend most of your effort below the surface: clear, grade, loosen, amend and smooth before the sod arrives.